Working Shaders outside of an AssetRipper project
TODO: The following needs to be updated from GameImporter to AssetRipper, and additionally be updated for ThunderKit 5. You will also need a Pre-SOTS Risk of Rain 2 for shaders to export properly using AssetRipper. You can find more info on extraction here. Alternatively, if you are just looking to edit shader parameters in the editor for in game, you can also use stubbed shaders (just place them in your Unity project's Assets folder) and upgrade them to real shaders during runtime with Shader Swapper.
While having access to shaders inside the GameImporter, it can make working materials for a custom mod a bit hectic, this is because you would need to keep switching between GameImporter and your Unity project only to do few modifications to the material.
There are ways of making the Hopoo Shaders work outside of the GameImporter project, albeit with a few caveats.
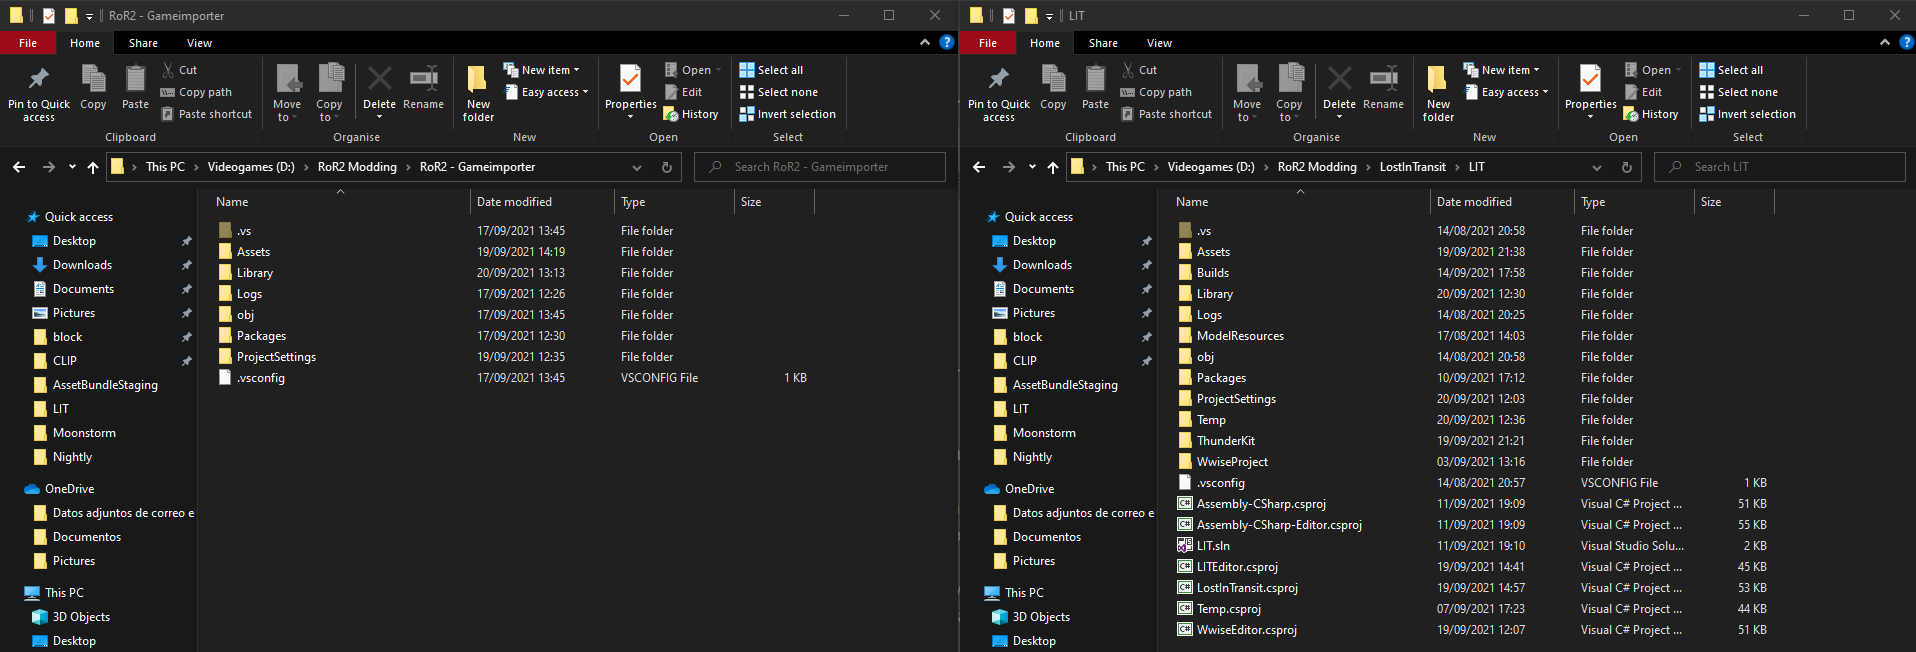
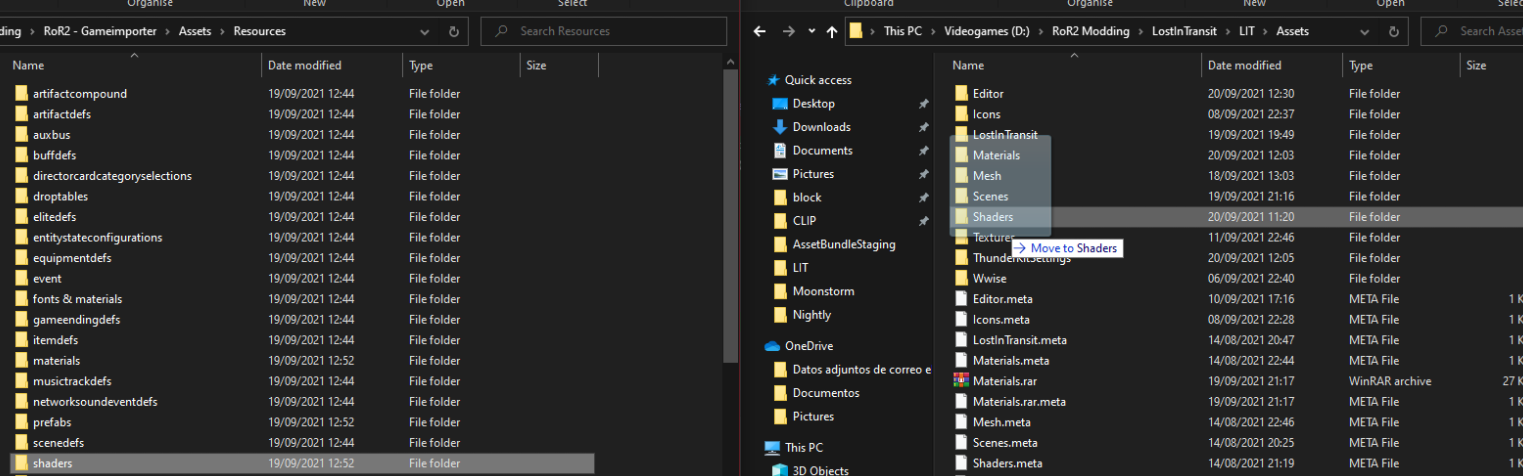
an example of shaders working outside of GameImporter. the project on the right is the Lost in Transit project.
The Caveats of having Hopoo shaders outside of GameImporter are the following:
* Having to add the Hopoo shaders to your .gitignore
* Having to deal with the potential issues that come with multiple people working on your project (due to the repo not having the shaders)
* Optional: Upgrading your project to use Thunderkit so you can build your assetbundle. for more information on this, click [here]
Keep in mind that you DO NOT need to port your entire mod to Thunderkit, we're only using Thunderkit so we can build our assetbundle with a special pipeline.
Getting Started
You'll need: * A GameImporter project. * Your Unity project. * Optional: Very basic Thunderkit knowledge.
Setting up the Shaders.
Due to the nature of the Hopoo shaders, nobody in the risk of rain 2 community can give you the shaders you'll need pre-packaged, as such, you'll have to set up your project to accept the Hopoo shaders. This guide will go step by step on how to do this.
- Step 1: Close both your Unity Project and the GameImporter project.
- Step 2: Have both your project's and GameImporter's root folders open.
- Step 3: Copy over GameImporter's Project settings folder to your project's root folder, replace all the files.

- Step 4: In your GameImporter's root folder, go to Assets. Copy the Assets/Shaders folder and paste them in your project's Assets folder, ideally within a subfolder.
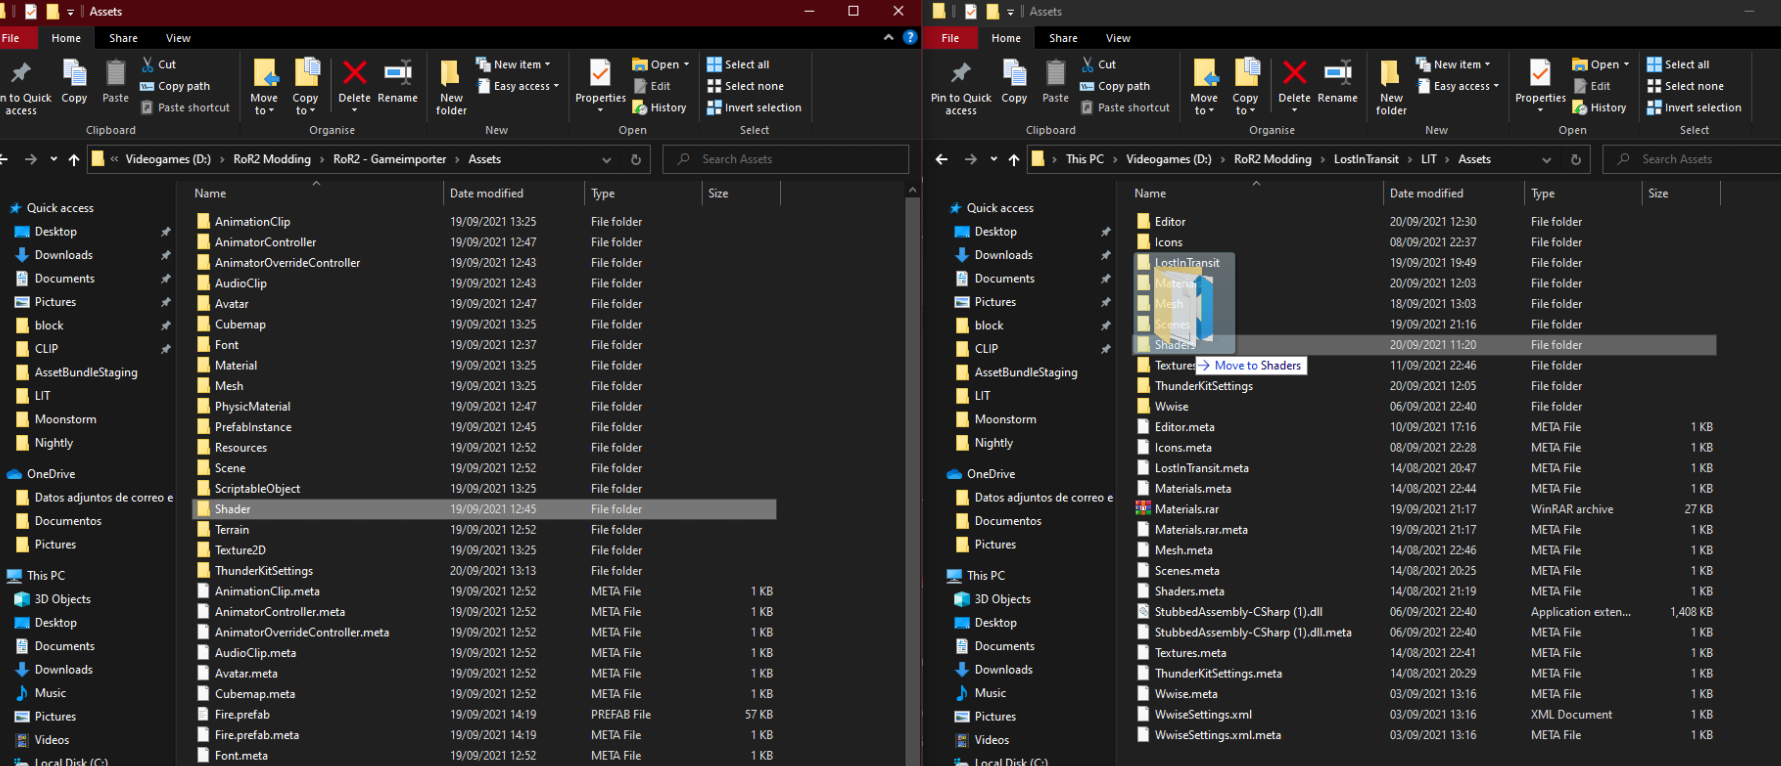
- Step 5: Go into the GameImporter's Resources folder, copy the following shaders & their meta files to the folder where your placed the shaders found inside Assets/Shaders.
decaliciousgameobjectid.asset
efficientblur.asset
fillcrop.asset
translucentimage.asset
underwaterfog.asset
Said folder should now have a total of 242 files.
- Step 6: Copy the entire contents of Resources/Shaders into your project's Assets folder, ideally within the same folder where you have the other shaders.
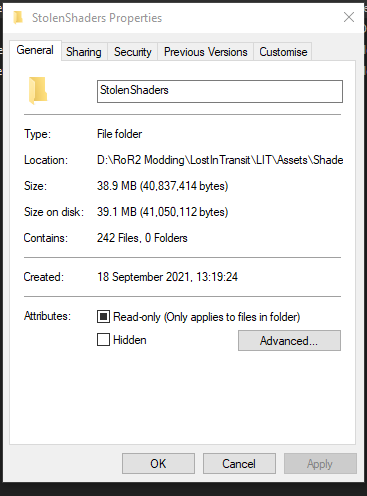
The final product should look something like this. where "StolenShaders" are all the shaders found inside Assets/Shaders & Assets/Resources. and ActualShaders are all the shaders found inside Assets/Resources/Shaders

- Step 7: Boot up your unity project, you should now have working shaders in your editor.
Dealing with Copyright issues.
In case your mod doesn't have its editor in a github repository, then you do not need to worry about this. but if you do, you must know that you Cannot under any circumstance push right now, this is due to the fact that you'd be technically redistributing the real Hopoo shaders. which is a violation of Hopoo Games' Copyright.
Assuming you followed the method here, and all the shaders in GameImporter are inside a folder, you can simply add a .gitignore there with the following contents.
*.*
!.gitignore
!*.meta
This will effectively make your repository ignore all the shader files except the meta files.
REMEMBER, YOU NEED TO GIT IGNORE THESE SHADERS, OTHERWISE YOU RUN THE RISK OF HOPOO GAMES / GEARBOX TAKING LEGAL ACTION AGAINST YOUR MOD. YOU'VE BEEN WARNED.
Asset Bundle Building
Now that you have the shaders in the editor, there's this slight issue that comes with developing your materials. You cannot simply have the Materials use the real shaders, this is because when your assetbundle builds, the real Hopoo shaders will be in the assetbundle, and this is technically redistributing them, which goes against Hopoo Games / Gearbox's EULA.
An option would be to have them all use the stubbed shaders, and switch to the real one only to make modifications, and afterwards switch them back to the stubbed ones.
Otherwise, you can use Thunderkit and have a special pipeline setup that'll do the following for you: * 1.- Switch all your material's shaders from real shaders to stubbed shaders. * 2.- Build the assetbundle, which causes all the materials in it to reference stubbed shaders. * 3.- Switch back all your material's shaders from stubbed shaders to real shaders.
The end result causes you to have all your materials use the real shaders in the editor, but the exported version in the assetbundle to use the stubbed shaders.
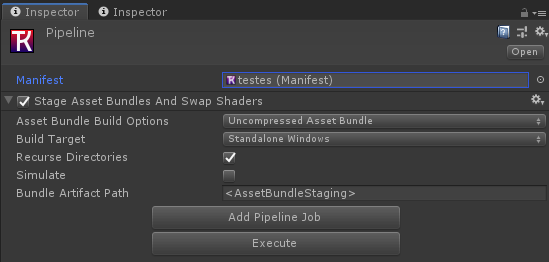
To begin, you'll need at least basic understanding of how Thunderkit builds your assetbundle, the simplest version contains just a manifest with an assetbundle definition datum
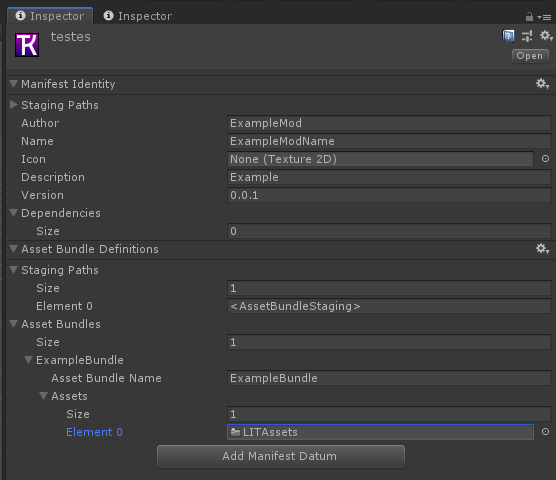
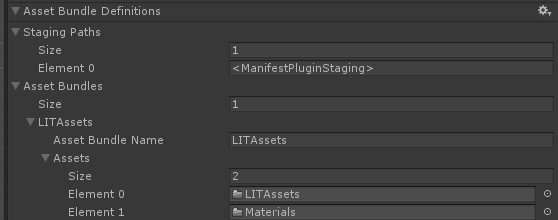
In case you have all your materials inside a single folder, you can name this folder "Materials" and add it to the list of assets.
The next step is building a very basic pipeline with a custom job. You can download the class that handles building the assetbundle and swapping shaders here
You need to place this class inside a folder in your assets called "Editor". Once you click "execute". Thunderkit will build your assetbundle with stubbed shaders instead of the real shaders.
The pipeline expects you to use Kevin's stubbed shader setup for this to work properly. And also expects you to follow the guide on using shaders outside of a GameImporter project.